
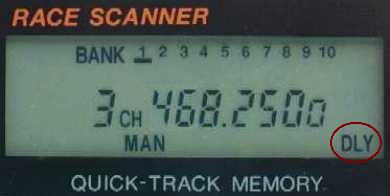
The DLY in the lower right corner indicates that the scanner is set to delay for two seconds after the signal ends on this channel.You can remove the delay setting by pressing DELAY/. when the channel is selected in the manual mode, as above.
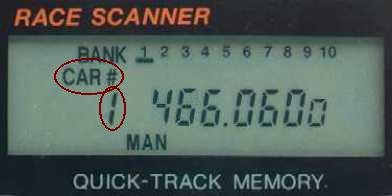
This is a tutorial for adding a car number to a frequency which has already been programmed into the scanner.In the example below, we have already set Channel 3 as frequency 468.2500, and we will be adding that frequency to Car #1.
For additional information on this product, see the links below:
| Step 1: Set the Scanner in Manual Mode | |
|
|
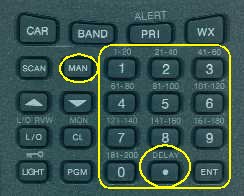
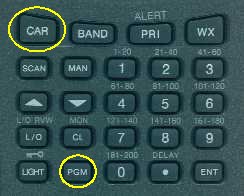
| If CAR # and a car number appears on the display as above, press CAR twice.CAR # and the car number should disappear, and the display will change to Manual mode, showing a channel number and frequency. | |
| Step 2: Select the Channel | |
|
|
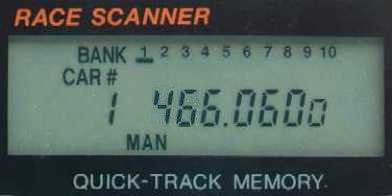
| Select the channel you want to use to store the car number by using
the number keys and MAN.The display above shows Channel 3 has been selected
(as an example). This was selected by pressing MAN 3 MAN. The DLY in the lower right corner indicates that the scanner is set to delay for two seconds after the signal ends on this channel.You can remove the delay setting by pressing DELAY/. when the channel is selected in the manual mode, as above. |
|
| Step 3: Enter Car Mode | |
|
|
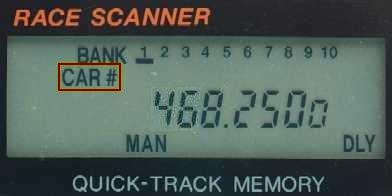
| Press CAR twice. CAR# appears under the word BANK on the display. | |
| Step 4: Enter Programming Mode | |
|
|
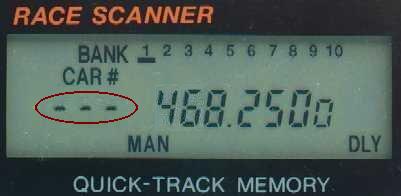
| While holding down PGM, press CAR. -- -- -- blinks under the word CAR #. | |
| Step 5: Add the Car Number | |
|
|
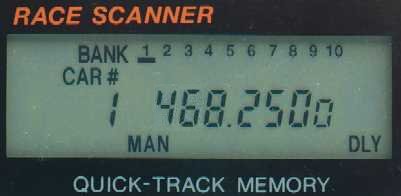
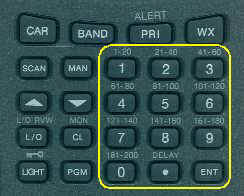
| Enter the car number by using the number keys. | |
| Step 6: Store the Car Number | |
|
|
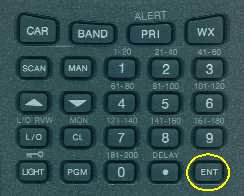
| Press ENT to store the new car number. | |
| Step 7: Return to Manual Mode | |
|
|
| To return to manual mode, press CAR twice.CAR # and the car number should disappear. | |
Copyright© RadioShack Corporation 2002. All rights reserved.