

In this tutorial, you will be shown how to change Priority channels. The scanner automatically designates each bank's first channel as its Priority channel. Follow these steps to select a different channel as the Priority channel for a bank.
For additional information on this product, see the links below:
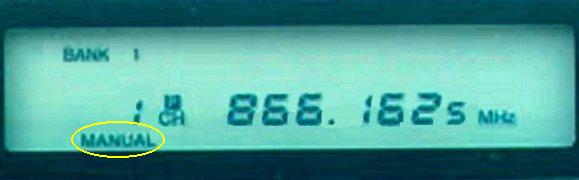
| Step 1: Enter Manual Mode | |
|
|
| Press MANUAL. Manual appears on the display | |
| Step 2: Enter a Channel Number | |
|
|
| Enter the channel number you want to select as the Priority channel. In this tutorial, we chose channel 2. Press MANUAL again. | |
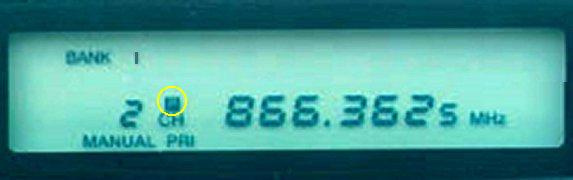
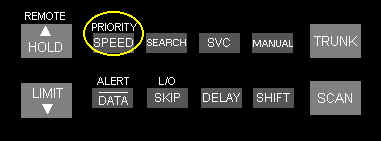
| Step 3: Select Priority | |
|
|
| Hold down PRIORITY until the scanner beeps twice. P appears to the right of the channel number on the display. Repeat Steps 2-3 for the channel in each bank you want to program as a Priority channel. | |
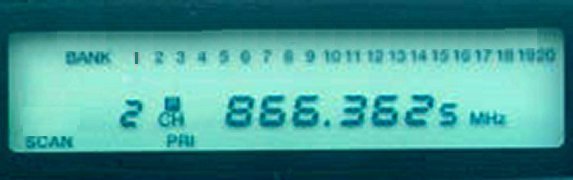
| Step 4: Selecting Priority During Scanning | |
|
|
| To turn on the Priority feature, press PRIORITY during scanning. PRI appears on the display. As you scan the bank, the scanner checks the bank's Priority channel every 2 seconds in each bank that is turned on, starting from the lowest to the highest-numbered Priority channel. To turn off the Priority feature, press PRIORITY. PRI disappears. | |
| Step 5: Exit Programming Mode | |
|
|
| Press MANUAL to exit programming mode. | |
Copyright© RadioShack Corporation 2001. All rights reserved.