

Note: To see the bank currently in use (for about 5 seconds), press DATA.
In this tutorial, you will be shown how to scan through one trunked bank at a time. Once you have stored frequencies for a trunked system in one or more of the 20 available banks, and you are scanning non-trunked frequencies, follow these steps to begin trunk scanning.
For additional information on this product, see the links below:
| Step 1: Initiate Trunking Mode | |
|
|
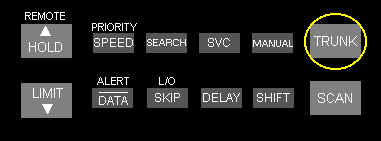
| Turn on the scanner and begin scanning in conventional mode. Press TRUNK. The indicators for all banks that have been programmed with trunked frequencies flash, and TRUNK and BANK appear. | |
| Step 2: Locate Banks that are Programmed | |
|
|
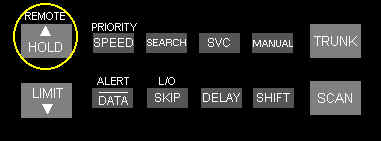
| To see all banks programmed with Motorola system frequencies, press the UP arrow. All banks programmed with Motorola system frequencies flash. To see all banks programmed with EDACS system frequencies flash, press the UP arrow again. | |
| Step 3: Select Trunked Bank | |
|
|
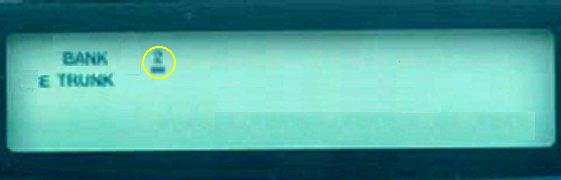
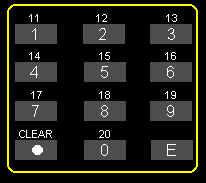
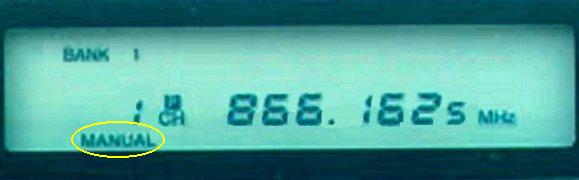
| Use the number keys (0-9) to activate the trunked bank you want to scan. A black square will appear under the selected bank's number. | |
| Step 4: Search the Data Channel and Scan the Trunk | |
|
|
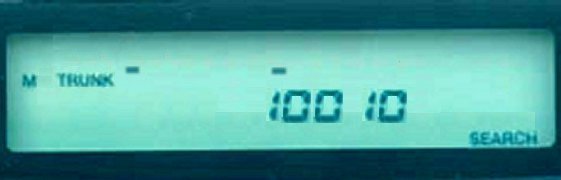
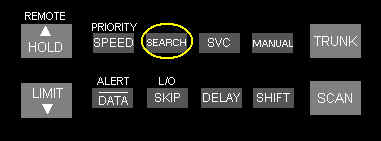
| Press SEARCH. As
the scanner searches for the trunk's data channel (the channel that controls the trunk), SEARCH
flashes. When the scanner finds the data channel, it begins trunk scanning. If you
entered all of the trunk's frequencies, you should be able to follow conversations between
broadcasters even when they change frequencies. IDs which represent different service
groups appear. In this tutorial, 100-10 is the service group
that appears on the display. Note: To see the bank currently in use (for about 5 seconds), press DATA. |
|
| You can locate talkgroup ID lists on internet sites such as http://www.trunkscanner.com. | |
| Step 5: Exit Trunking Mode | |
|
|
| To return to conventional scanning, press TRUNK again. | |
Copyright© RadioShack Corporation 2001. All rights reserved.